Please follow our guides below when starting to rebuild your home. For those looking for reputable contractors and services, be sure to check out our Trusted Partners page, where we’ve compiled a list of vetted professionals who specialize in post-disaster recovery. These partners are known for their expertise.
Disaster survivors anywhere in the state may call to apply for free civil legal services.
United Methodist
855-228-3862
Disaster survivors in the state may call to register for disaster assistance such as debris removal, tarping, muck and gut.
Crisis Clean Up
844-965-1386
Disaster
your Road to recovery
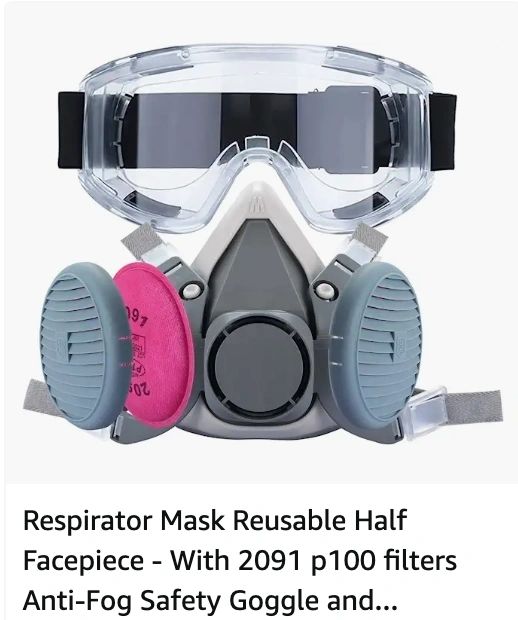
1. Get personal protective equipment: Rubber boots, gloves and coveralls.
Protect yourself first with the proper gear, especially for your lungs. Flood water is nasty stuff, containing hazardous chemicals and raw sewage, the residue of which gets left behind after the water recedes. What’s more, lead-based paint particles can also get stirred up, especially if your home was built before 1978, plus dust and mold spores in the air. Get a N95 mask or half-face P100 respirator & you should also wear a Hazmat Suites.
2. Cut off power, gas and water.
Before entering your home, be sure to turn off gas, water and electricity. HUD also recommends assessing your home’s structural integrity before entering, and getting a professional inspection if you’re unsure.
If the waterline was above the electrical outlets, have an electrician come out as a precaution to make sure everything is OK.
3. Remove everything.
Take everything that was touched by water out of your house. Set any solid wood furniture out to dry, as well as family photos, but toss everything else. Rip out the carpet and carpet pads.
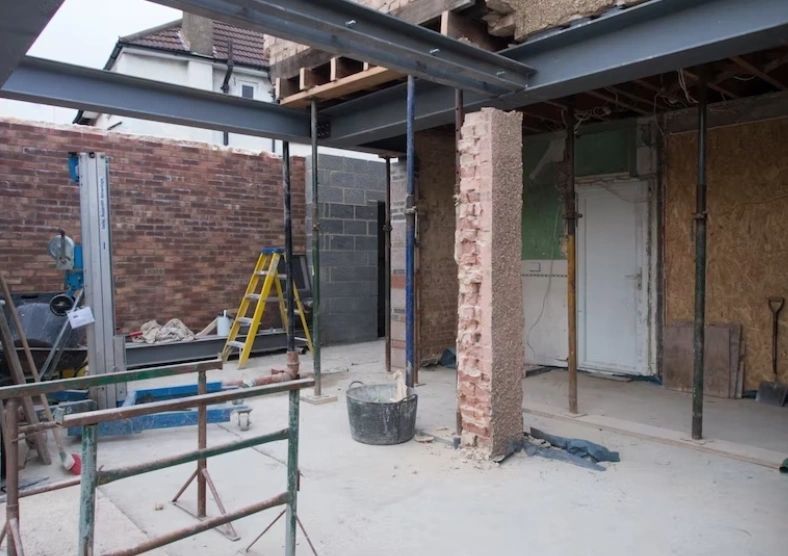
4. Demo everything to the studs and concrete slab.
*Leave a small area of drywall to show insurance adjustors the waterline.
Some hardwood floors and solid wood trim might salvageable, but for the most part, you’re looking at stripping your home down to its concrete slab and wall studs above the line where the water reached. Demolishing the portion of your drywall that was damaged by water is a task easy enough for the average homeowner to save yourself money.
Once the drywall portion is removed, cut the insulation & remove that as well. Don’t pull down the insulation, that will leave a gap near the top of the wall.
5. Don’t forget hidden spaces.
Be sure to check drawers and other areas of your home for standing water. There may be water trapped at the base of your kitchen cabinets behind the toe kick.
If you have a kitchen island, you may have water trapped in the base as well. We recommend drilling holes in the base of the toe kick to to release any water trapped there and get air circulating through. Replacing the toe kick and cabinet backs is relatively cheap and easy.
6. Clean and disinfect.
Get a broom and a shop vac and really clean everything out. Hose down the solid surfaces — studs and slab — with clean water. This can help wash away bacteria. Don’t powerwash or get the drywall wet, though.
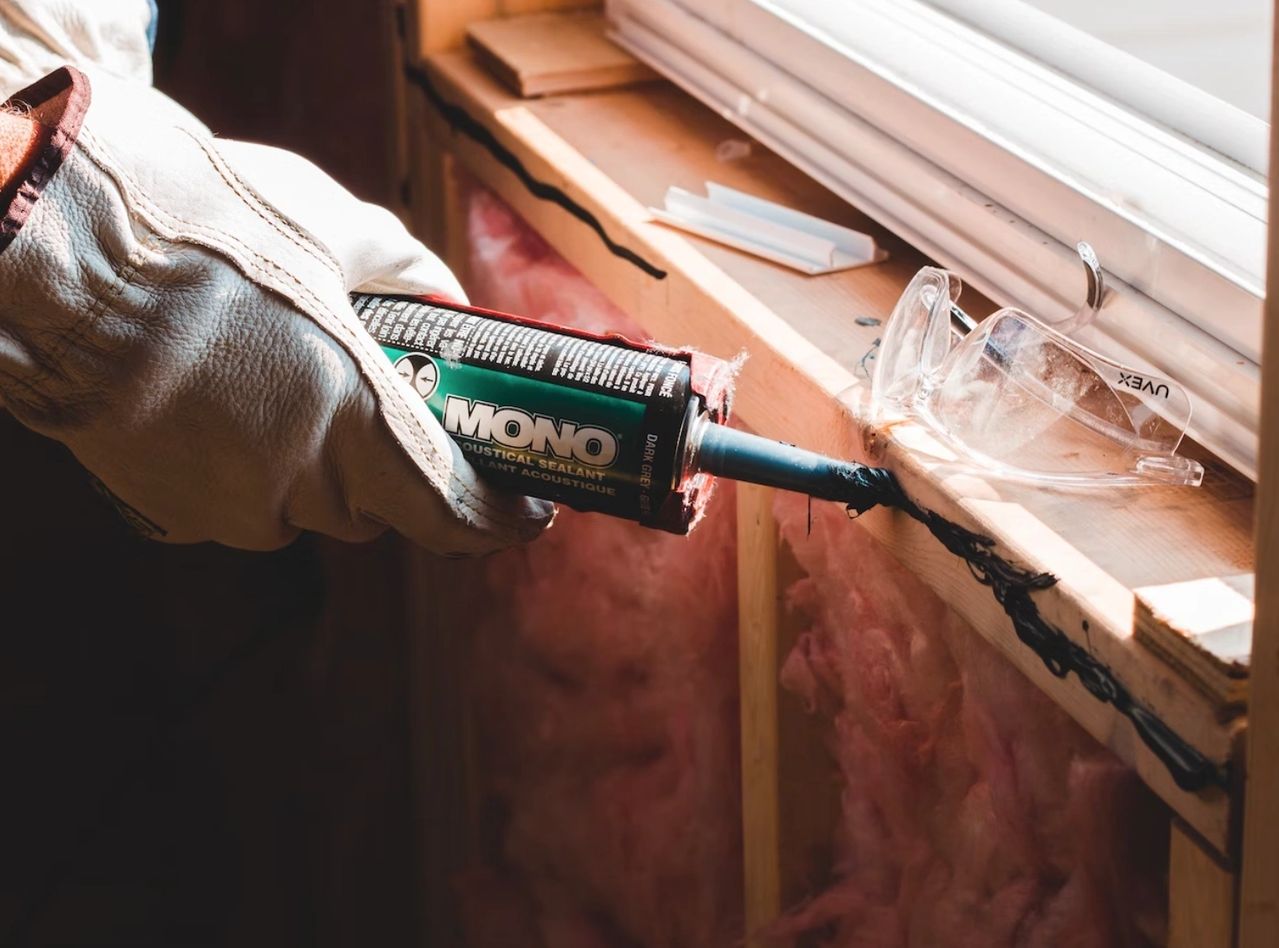
Once everything is relatively dry, you’ll need to to kill the bacteria. Microban is a good option, wear a mask, gloves and goggles.
Create a bleach solution of half a cup of bleach in 1 gallon of water and using a pump sprayer to spray everything but metal in a fine mist.
Bleach will corrode metal, so avoid spraying things like electrical outlets and cabinet hardware. Spray it down, put fans on and let it dry.
*Important to complete these last 2 steps.
Please be patient and make sure you have remediated ALL of the MOLD.
7. Ventilate and dry.
Be patient. Don’t try to rebuild before the house is completely dry. At a minimum, unless you’re working with a professional restoration company, you’re looking at two to four weeks before your house is dry enough to rebuild. That’s with fans going. On dry days, open all the doors and windows.
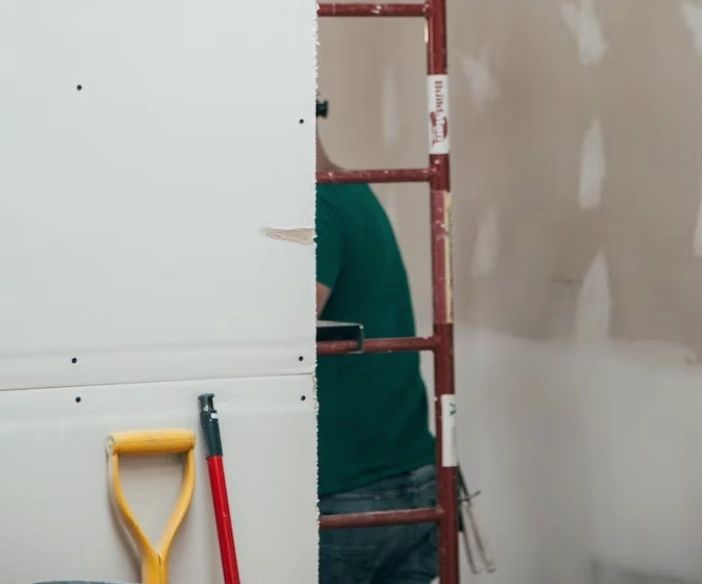
8. Once mold remediation has been completed, remove all nails.
Make sure to remove all nails from your studs once everything has fully dried. If you are elderly or disabled, find volunteers in your area to do this for you. You should then hire a licensed electrician to re-do your electrical work and AC/heating ducts. A contractor can then hang your dry wall so you can finish restoring your home.
Please Check Credentials and Hire ONLY Licensed & Insured Contractors!
Don’t give any more than $2,500 in deposit & make sure you have a contract. There’s no reason you can’t physically go with a contractor to Home Depot to buy materials with your credit card rather than have the contractor do it.
If you plan to stay in your house for the foreseeable future, know that it will likely flood again someday. In Repairing Your Flooded Home, FEMA and the Red Cross recommend that as you begin to rebuild, it’s the time to introduce flood-proofing materials and practices, and to buy flood insurance and write a flood response plan.
5 additional steps for gutting your home.
Gutting a house “to the studs” means taking it down to its original floor plan. Drywall, insulation and ceiling fixtures are stripped away, leaving nothing but beams and unfinished flooring.